This tutorial will give you a comprehensive, step-by-step guide on building a secure and functional chat app with React Native and Firebase providing the backend service. The chat app will have a log-in and registration screen, allowing users to add chats in a real-time chat application.
What is React Native?
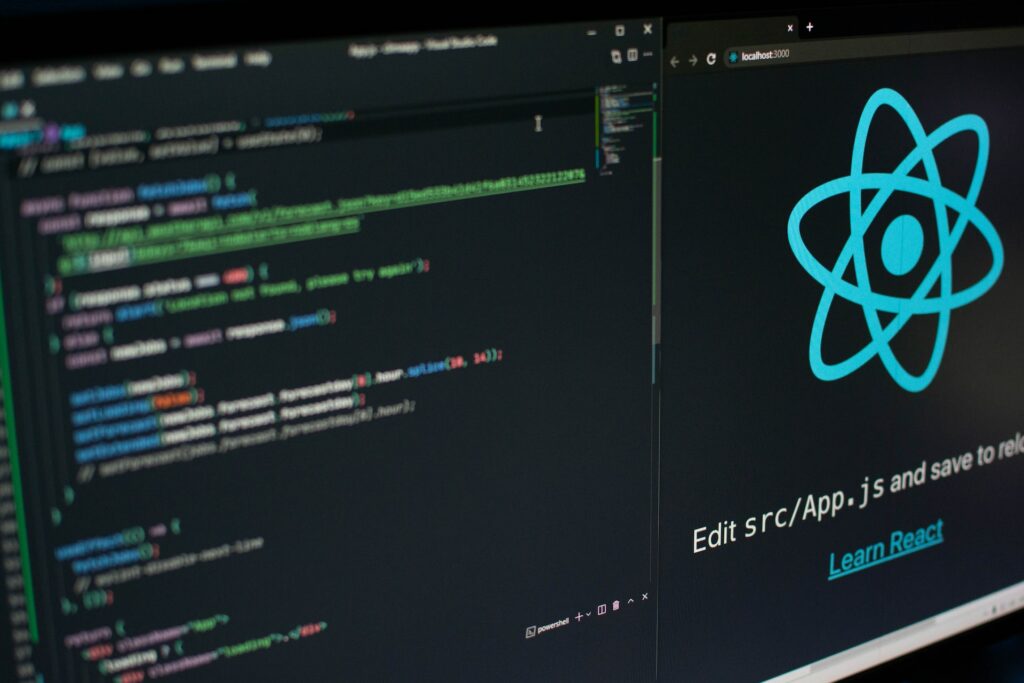
React Native (also known as RN) is an open-source mobile app development framework that enables users to build mobile apps for Android and iOS with native UI elements. It was built based on React, which is a JavaScript library. React Native has been a global success for various reasons.

First, you can use code created on it to power Android and iOS apps, saving a lot of time and energy. Second, the framework can also be used by front-end developers, who previously could only do app development using web-based technologies.
What is Firebase?
Firebase is Google’s app development platform that offers developers the services and tools they need for the development of quality apps without needing to manage servers. It is categorized as a NoSQL database program. Firebase’s key features include hosting, authentication, notification, and a real-time database.
How to Create the Chat App
Here is an in-depth, step-by-step tutorial on how to create the chat app.
Step 1: Prerequisites
To develop the chat app, you should have a working understanding of React Native; the other stacks are easily understood.
The packages needed for developing the app are as listed below:
- Firebase
- ReactNative
- Node.js
- ReactNative Media Query
- Expo
- Formik
- Comet Chat
- Yup
Step 2: Installing Dependencies
First, you will need to download and install Node.js on your machine.
Second, you will need to install the Expo-CLI on your computer. You need to install it as a global npm package. To install and use Expo CLI, you should have installed the tools below on your machine.
- Git
- Node.js LTS release
- Watchmen (Only for Linux and macOS users)
If the Expo CLI installation is successful, you will receive a ‘not logged in’ message. You do not need to be logged in to an account to proceed, and you can continue.
After installation, navigate to the terminal and create and name a new expo project. When prompted, choose the blank template.
Then start the expo project that you have just created. Running the command below will start a new react native project on the browser.
expo start
You can now launch the Web Interface, Android, or iOS by choosing the one you want. Afterward, use a simulator to spin up the development server on Android or iOS.
After you are done with that, you can install the other essential dependencies for the project, as shown below. Yarn is the default package manager for expo.
- Install the Native React navigation libraries: yarn add @react-navigation/native-stack
- Install the dependencies into an expo-managed project: expo install react-native-screens react-native-safe-area-context
- Install Formik and Yup to validate your forms: yarn add formik yup
Now we can add Firebase for the project!
Step 3: Adding Firebase
The following steps give a comprehensive guide on how to add and set up Firebase.
Installation
To begin, run the command below on your terminal to install it properly.
expo install Firebase
Create a Firebase account and a new project
If you do not have an account, start by signing up for one. Then go to Firebase, create a new project, and activate the email and password authentication. Below the authentication tab in your project, click the ‘sign-in method,’ and you will be provided with a list of providers supported by Firebase. Choose the one you want to enable and save your choice.
Activate the Firestore service
You then need to activate the Firestore service. You will use this to store the posts coming from your application. To do this, go to the Firestore tab (on the sidebar) and click on ‘Create database .’ Navigate to Firestore rules, make the changes, and publish those changes.
Use the timestamp as an index to order your posts
To achieve this, start by creating an index for it. Go to the ‘indexes‘ tab, navigate to ‘single field‘ and click on ‘add exemption .’Enter ‘Posts’ in the Collection ID space and ‘timestamp’ in the field path space. Then click ‘Next,’ enable the scopes (ascending, descending, array), and save.
If you complete the steps above correctly, you will notice that the loading indicators on the exception blocks will have disappeared.
Generate the SDK configuration keys for Firebase
Start by registering your application under your Firebase project. On the overview page, choose the add option, and select web as the platform. After finishing up the configuration, go back to the overview page, and click on settings so that you can copy the SDK configuration setups.
Note: Copy the configuration keys into a separate file that you will use later. Create a file called firebase.js at the root of your project, paste your codes, and save.
Step 4: Set Up the Project Structure

This project will have several directories, including the components folder. Starting with the components folder at the root of your project, create a folder named components at the root of the project. The components of the chat app are as shown below.
- The header component: Use the power of react-native-media-query to craft it, as seen in the prototype below.
- The BottomTabs component: These are usually seen at the bottom of the Home Screen. Create a ‘BottomTabs.js’ component and paste the codes into it. The image below shows a prototype of the code.
- The card component: Create a card.js component and paste the codes into it.
Step 5: Log-In and Registration Screen
Screens are analogous to website pages, and every screen represents a page. Let’s go into detail on the login and registration screens.
The log-in screen
The log-in screen is used to authenticate already registered users on your platform. When you use the correct details to log in, Firebase and the chat app authenticate you. If you supply the incorrect details, you will be kicked out.
The registration screen
This is the screen that is responsible for creating new users. It interfaces between the app’s authentication and that of Firebase. New users can sign up to the chat app and Firebase simultaneously.
Note: Other screens include:
- The AddPost screen is liable for making new posts. You use Yup and Formik to save collected data and save it in the Firestore database.
- The ChatList screen that lists all registered users
- The chat screen allows users to engage in chats.
Step 6: Test Chat App
You can now test the chat app to determine if it works as planned. Below are some system testing cases and their expected outcomes.
- Signing up a new user: A new user should be allowed to enter the chat panel
- Check newly created user in the Firebase database: A newly created user date and unique UID in Firebase
- User messages with time: The user writes a message, and the receiver views it with the time
- Chat data for a logged-in user in Firebase: User’s chat data available in Firebase’s real-time data
- The logged-in user refreshes chat automatically: Chat panel windows refreshes and is observed by the viewer.
Your chat app is ready!
Congratulations! You have now created a chat app with React Native and Firebase! Firebase is an excellent asset for React Native developers who want to build app prototypes without building a complete backend from scratch. You can now build your first app or app prototype with the steps highlighted above.